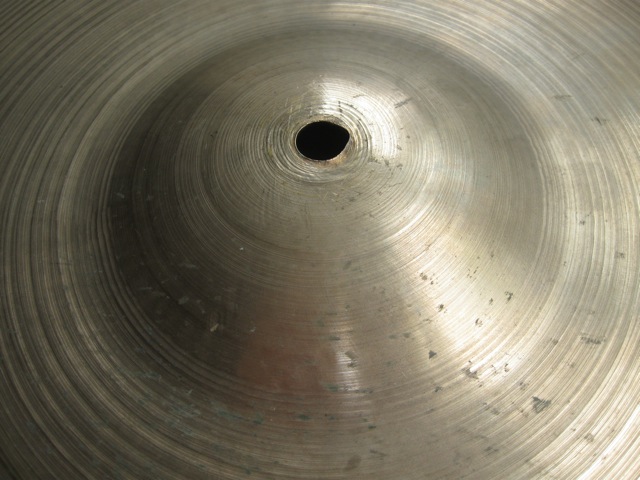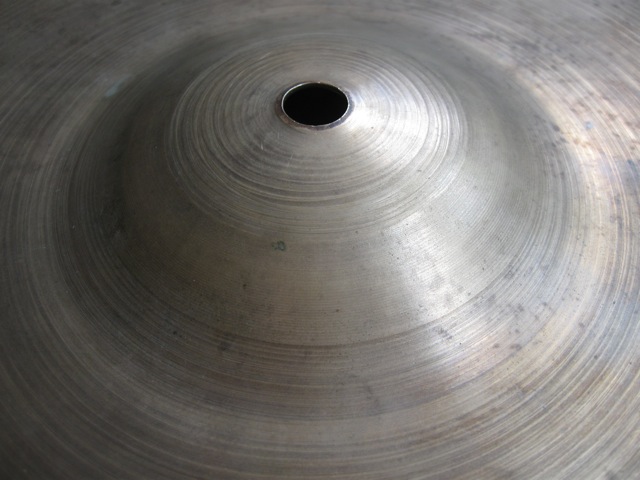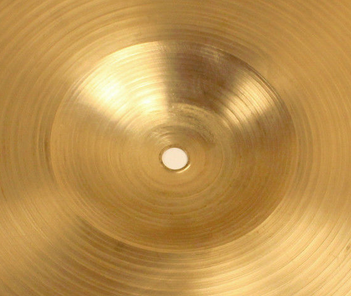
For each bell I've describe three sections separately. Bottom is from the base of the bell to part way up the side, Mid is the next section until you get to the Top. The ides is to come up with a quick coding scheme which most people to use and report what they've got. That way we can collect up a large enough sample to try and look at relationships and changes. But I can't be sure this simple coding scheme will be able to pick up the features we need to find the distinctions. Getting the right coding scheme is a matter of picking something which is easy to learn and apply, but doesn't completely lose the true complexity of the patterns we are trying to find.
In the captions SSA and SSB (aka Hartrick Small Stamp) refer to two distinct subtypes which have been defined by Cliff, and are found in the gallery area describing Late 50s Small Stamp.
Image: 18" SSB Bell

Bottom: coarse
Mid: fine
Top: fine
For data collection purposes this would just be coded as a CFF bell (coarse, fine, fine going in zones from bottom to top).
Image: 20" SSB Bell

Bottom: coarse
Mid: fine
Top: fine
Image: 14" SSB Bell (pair of SSB/SSA flange hats)

Bottom: fine
Mid: fine
Top: fine
Image: 14" SSA Bell (pair of SSB/SSA flange hats)

Bottom: fine
Mid: fine
Top: fine
Image: 18" Hollow Block Bell (aka Hartrick Large Stamp Type I)

Bottom: coarse
Mid: coarse
Top: fine
Image: 14" 60s Bell

Bottom: coarse
Mid: coarse
Top: fine
Image: 20" 60s Bell

Bottom: coarse
Mid: coarse
Top: fine
Image: 20" L2 Bell (L2 aka Hartrick Large Stamp with 3 dots)

Bottom: coarse
Mid: fine
Top: fine
Image: 18" 60s (1.5" height) Bell

Bottom: coarse
Mid: coarse
Top: fine
Image: 18" T4 Bell (T4 aka Hartrick Trans Stamp Type IV)

Bottom: coarse
Mid: coarse
Top: fine
Image: 18" L2 Bell

Bottom: coarse
Mid: fine
Top: fine
Image: 19" Alejian Bell (50s based on look of hammering?)

Bottom: coarse
Mid: fine
Top: fine
Image: 14" T3 Bell (T3 aka Hartrick Trans Stamp Type III)

Bottom: coarse
Mid: fine
Top: coarse
Image: 21" 70s Bell (Made in Canada)

Bottom: coarse
Mid: coarse
Top: fine
And the summary so far after 14 cymbals:
Trans CFC (T3) CCF (T4)
Large CCF (HB) CFF CFF
Alejian CFF
Small CFF CFF FFF FFF
60s CCF CCF CCF
70s CCF
Another couple of hundred cymbals coded and we might start to find a pattern. What have you got?
Image: Cymbal Anatomy 101

This section defines the procedures I use for measuring bells. The main difficulty in measuring bells is figuring out the point at which the bow of the cymbal ends and the bell begins. Sometimes it looks easy because the way the lathing has been done there is a sharp transition from bell to bow
Image: Sharp Bell Bow Transition

Sometimes the transition is clear in places and not others
Image: Intermediate Bell Bow Transition

And sometimes the transition is so smooth it is vary hard to be sure where the bell really begins
Image: Smooth Bell Bow Transition

After a bit of experimentation I found that I can spot the point of inflection where the bell begins with reasonable (within 2 mm) repeatable accuracy by turning the cymbal upside down and using a straight edge. Place the straight edge on the outer edge of the cymbal and when the bell begins to separate you can see a point of inflection. I mark that with a piece of masking tape (or similar). Then I do the same 180 degrees opposite. I then double check that the tape marks are the same distance from the mounting hole using a pair of dividers. Alternatively if your straight edge is a ruler the you can use the distance from the edge to make sure the tape marks are the same distance out from the mounting hole. I haven't tried this method out on Chinas yet so I don't know if that requires a change to the method.
Image: Finding the Point of Inflection

As you can see, I've marked both points of inflection with tape at this point. The other thing to note is that with the straight edge in this position you can also see how much the cymbal curves in the bow section. I haven't yet got a way to measure this, but I'm going to figure something out. Yes I could just grab a second measuring device, but it is a question of getting sufficient accuracy. My calipers don't seem to be the right shape to do the trick.

Here is a close up of the area where the point of inflection is located. Notice that in good side light the straight edge casts a shadow on the cymbal and if you follow those shadows they converge at the point of inflection. Once the tape marks are in place I use a cloth measuring tape to measure the bell diameter.

Another thing you can do while your cymbal is upside down is measure the bell volume. Why do that? There is more to the size of the bell than just diameter. The volume measure helps capture information about the overall size and shape. In order to do this I fill the bell with a measured amount of water (from a graduated beaker), up to the tape marks. Don't forget the put a piece of masking tape over the mounting hole or the water all runs out.
The other thing you can measure while the cymbal is upside down and the bell is filled with water is bell height. If you have a ruler you can put into water, then the water helps you read off the bell height. The bell height is the inner height and excludes the thickness of the cymbal around the mounting hole.

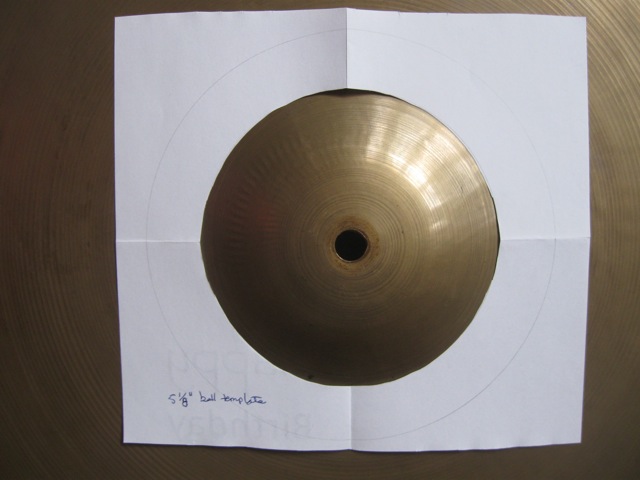
In addition to measuring the bell from the bottom, I have been experimenting with a quick way to measure the bell diameter from the top using templates as seen above. This is a prototype to see if the method shows promise. If I decide to go with it I'll have some templates made out of some non bending material so they lie flatter. The templates can be used on the top or the bottom side of the cymbal. And again the trick is being able to see exactly where the point of inflection is. Templates graduated in 1/8" (2-3 mm) should be sufficiently accurate.
or back to the introduction page
text stabilized 9 Jan 2016 6:17 PM
text last updated 12 Feb 2017 3:42 PM

This work is licensed under a Creative Commons Attribution-ShareAlike 4.0 International License.